
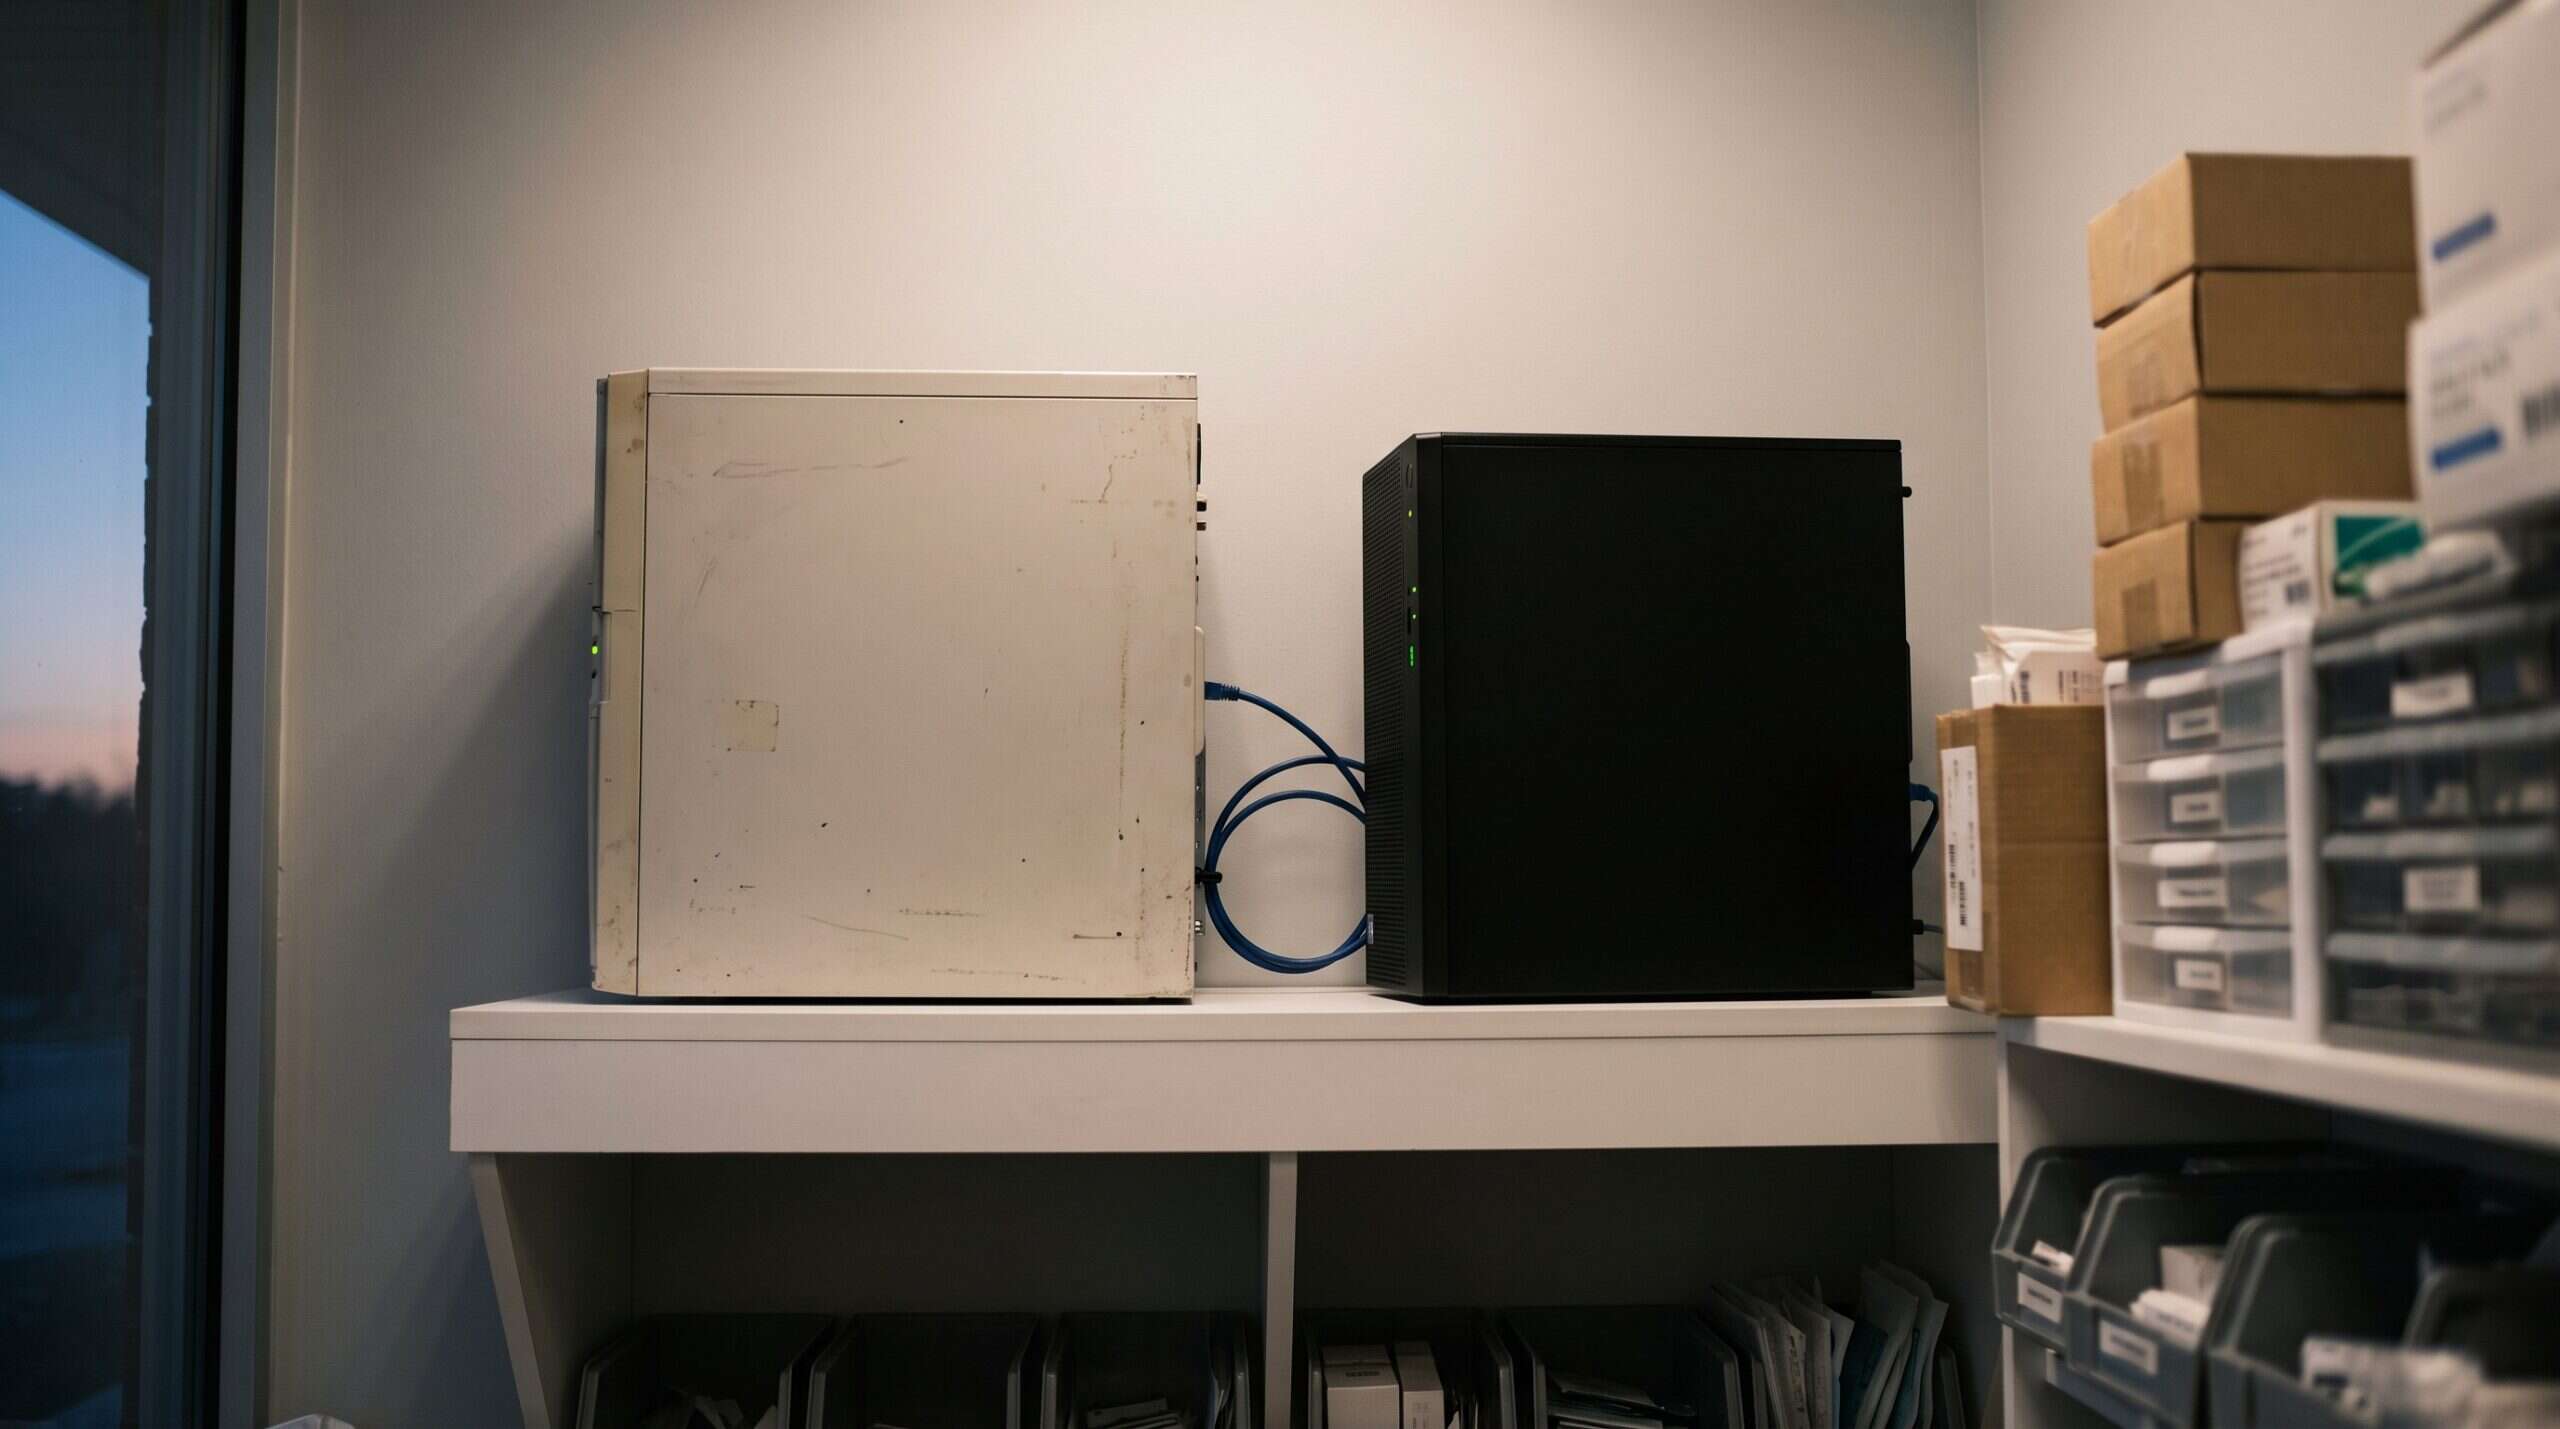
Warning: a server move takes Dentrix offline for every workstation and involves your live database. Plan it with your IT provider and Henry Schein One (1-800-DENTRIX), schedule it after hours, and keep the old server untouched until the new one is proven.
Before you start
The Migration Tool quick start guide lists these prerequisites:- Dentrix 17.9.26.0 or newer on the existing server. Check Help | About.
- Both servers meet the latest Dentrix System Requirements. The 2026 requirements call for Windows Server 2016, 2019, 2022 or 2025 on the server. See our Dentrix server requirements article.
- Your Dentrix data is backed up and stored safely.
- All Windows updates are installed on both servers.
- Your database passphrase is available and verified. You cannot complete the migration without it.
Back up first
Henry Schein One’s backup guidance explains that the Dentrix database is always locked by the DentrixACEServer service, so backups use a copy exported with the Dentrix Server Administration Utility into theCommon\DBCopyForBackup folder. Before the move:
- Have everyone close Dentrix on every computer.
- Export a fresh copy of the database with the Server Administration Utility, and confirm it finished.
- Back up the
DBCopyForBackupfolder along with the other folders Henry Schein One lists, such asDentrixSQL(includingDocFilesandPatPicts) andDoc. - Check the backup completed and is somewhere off the old server.
Step 1: Put the old server into migration mode
- Open the Dentrix Installation and Migration Tool on the existing server.
- Select Place This Server Into Migration Mode to Migrate to a Different Server and click Continue.
- Enter the database passphrase and select Validate Passphrase.
- When validation succeeds, select Start Migration Mode.
Step 2: Migrate on the new server
- Open the Dentrix Installation and Migration Tool on the new server.
- Choose Migrate from an Existing Server and click Continue.
- Select Find Original Server, and search for it or enter its name.
- Enter the original server’s passphrase when prompted, and let the tool transfer and restore the database, Document Center files and patient pictures.
Step 3: Test before anyone sees patients
- Open Dentrix on every workstation and confirm it connects to the new server.
- Open a recent patient and check the Appointment Book, Family File, Ledger and Chart.
- Open a document in the Document Center and a patient picture.
- Click through to imaging and confirm the bridge opens the right patient.
- Print a test document and claim.
- Set up the scheduled database export and backups on the new server, and run one.